

EC CUBE3.0をMAMPでローカルにインストールする方法。
カテゴリ:WEB制作
タグ:
※当サイトはアフィリエイト広告を利用しています。
EC CUBE3.0をMAMPでローカルにインストールする方法について紹介します。
インデックス
1.データベースの作成
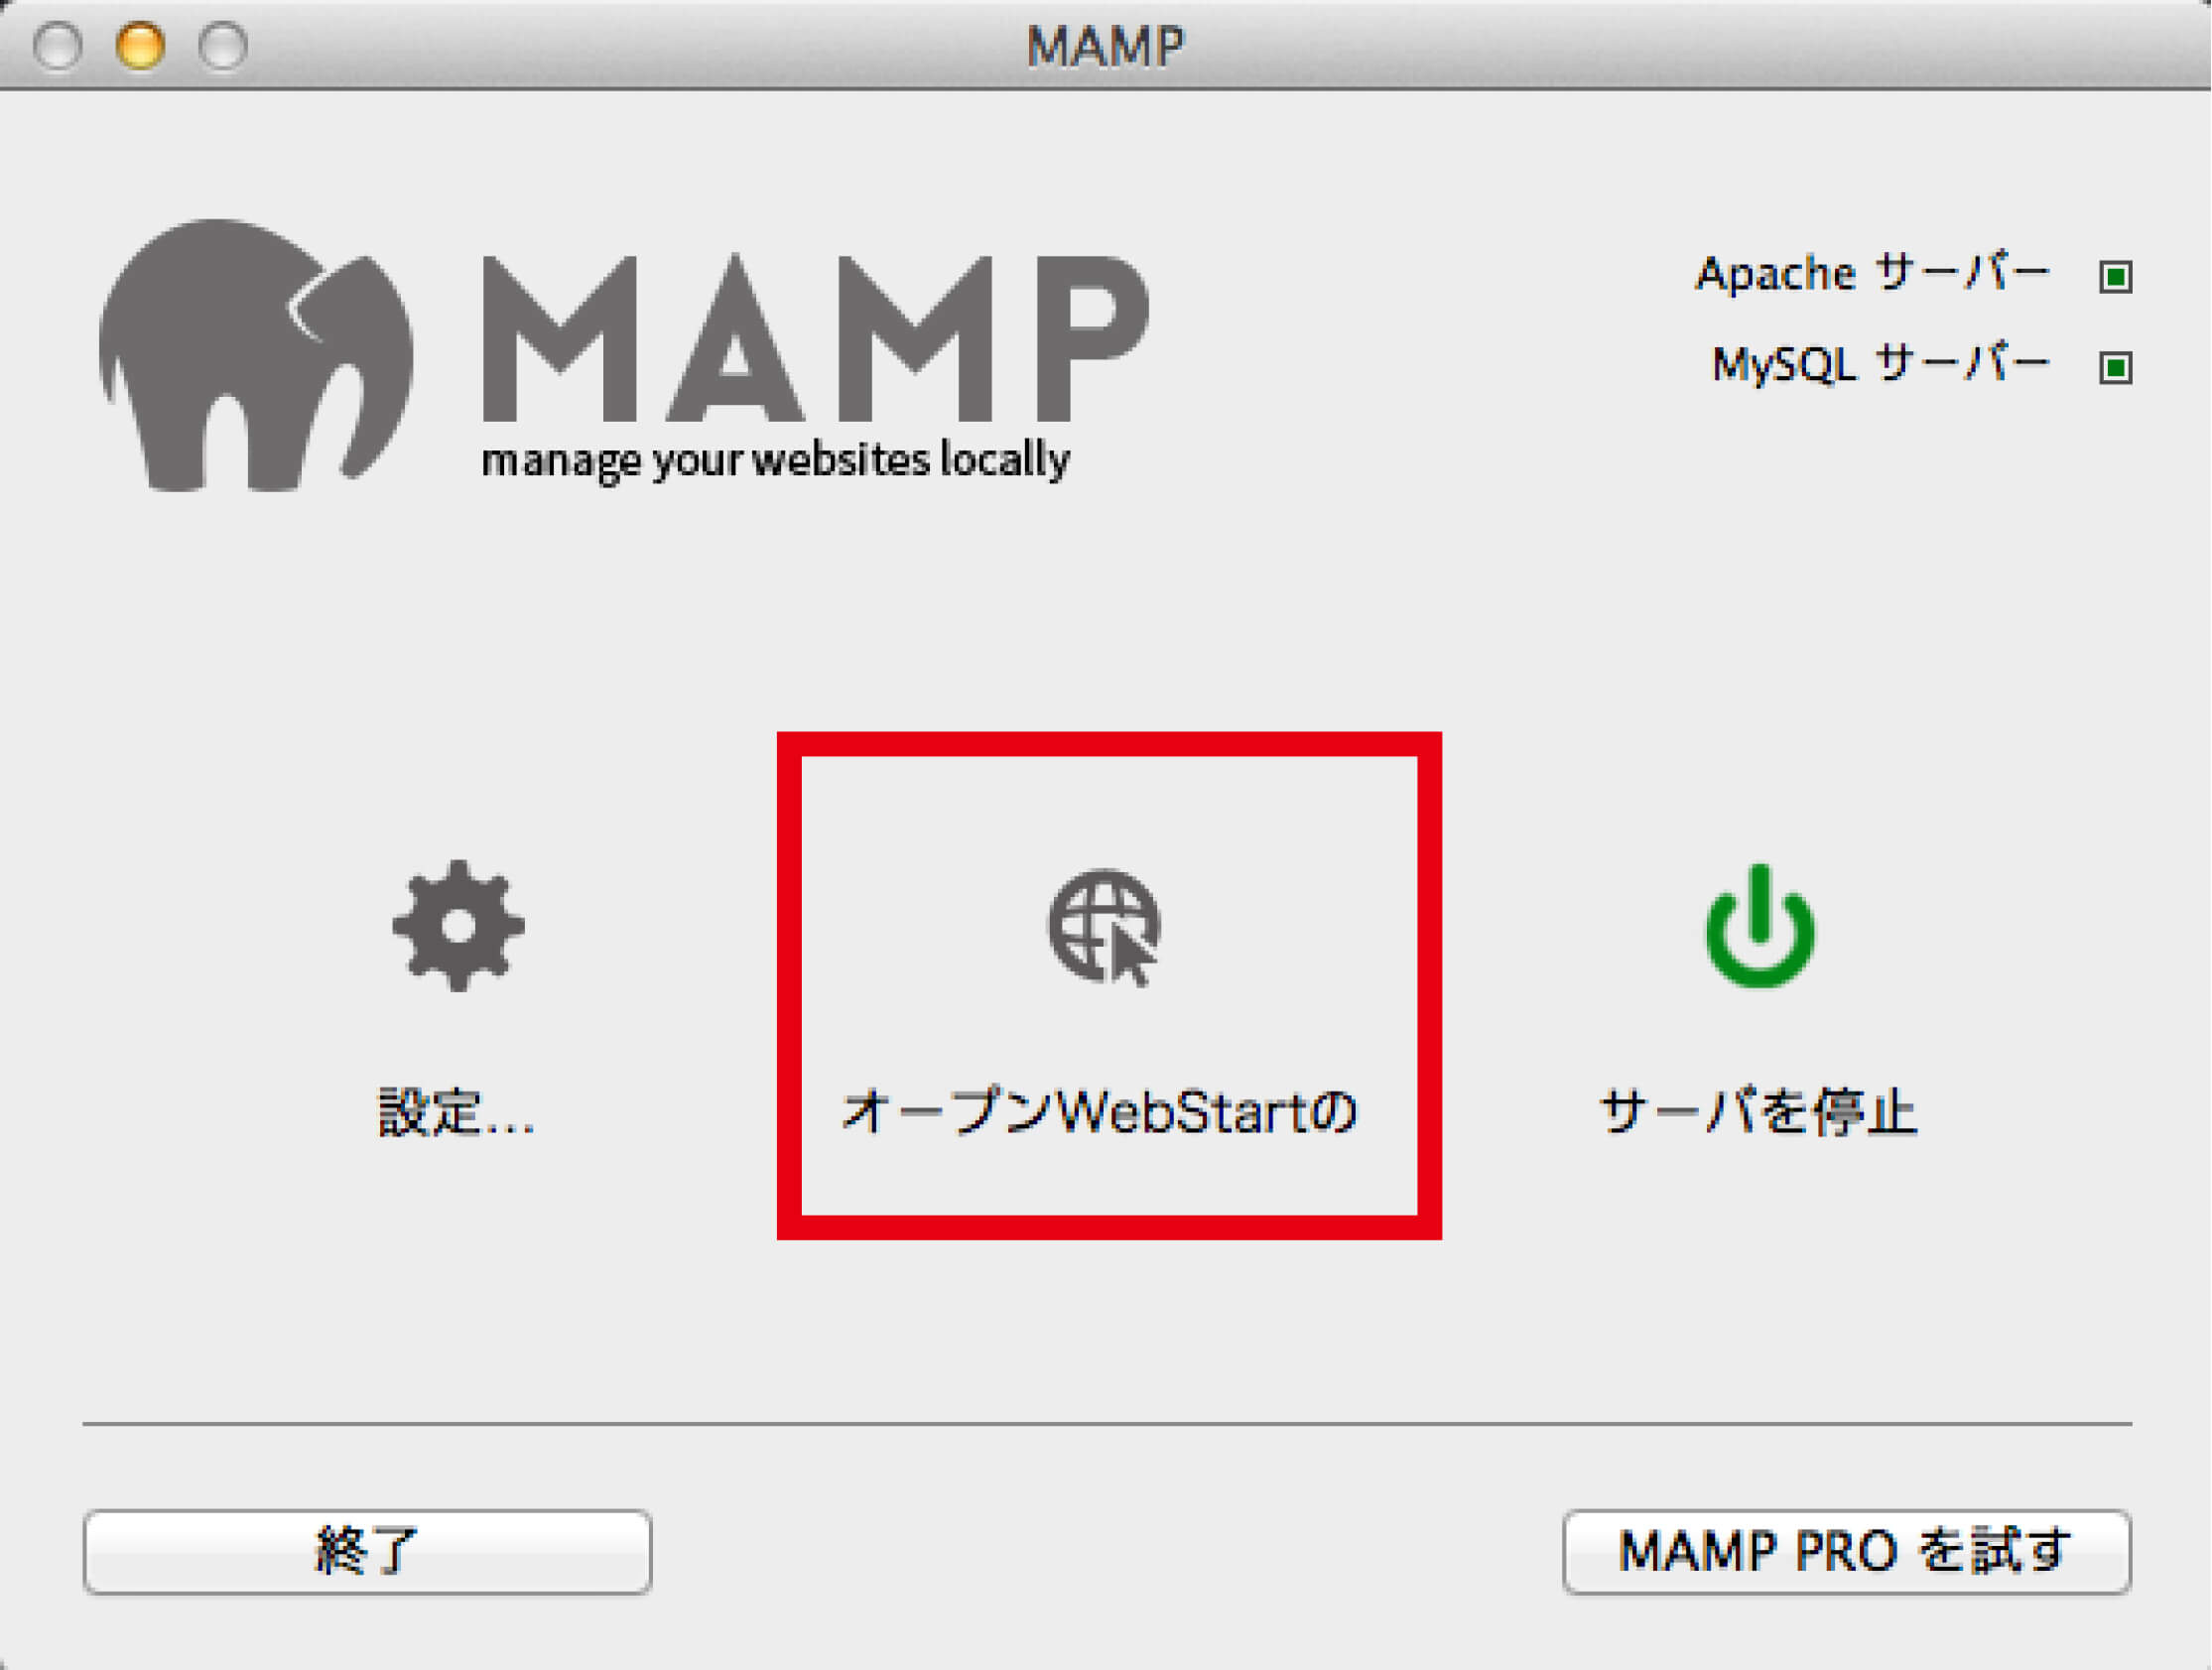
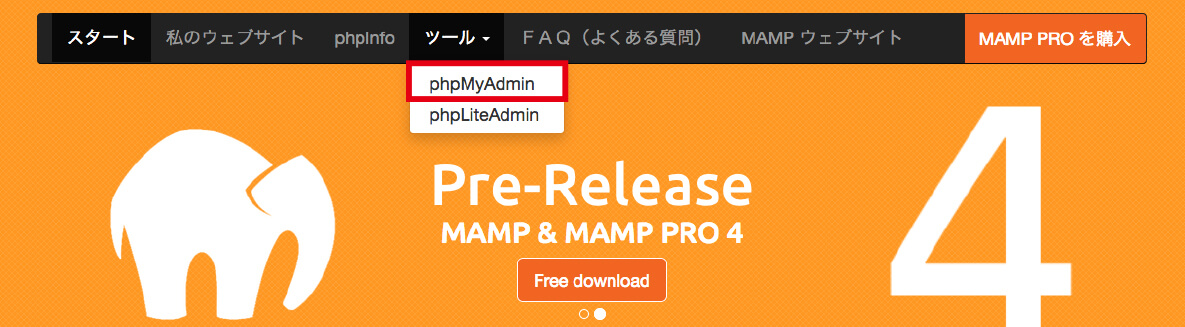
MAMPの【オープンWebStartの】をクリックしてMAMPのページにアクセスします。
phpMyAdminを開きます。
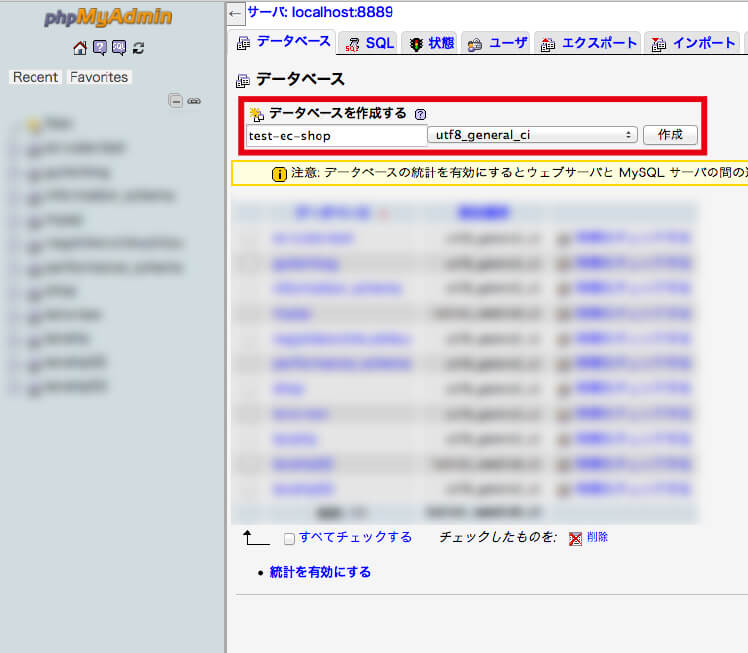
データベースのタブを選び任意のデータベース名を付けて(今回はtest-ec-shop)照合順序を【utf8_general_ci】にしてデータベースを作成します。
次にこちらからEC CUBEをダウンロードします。
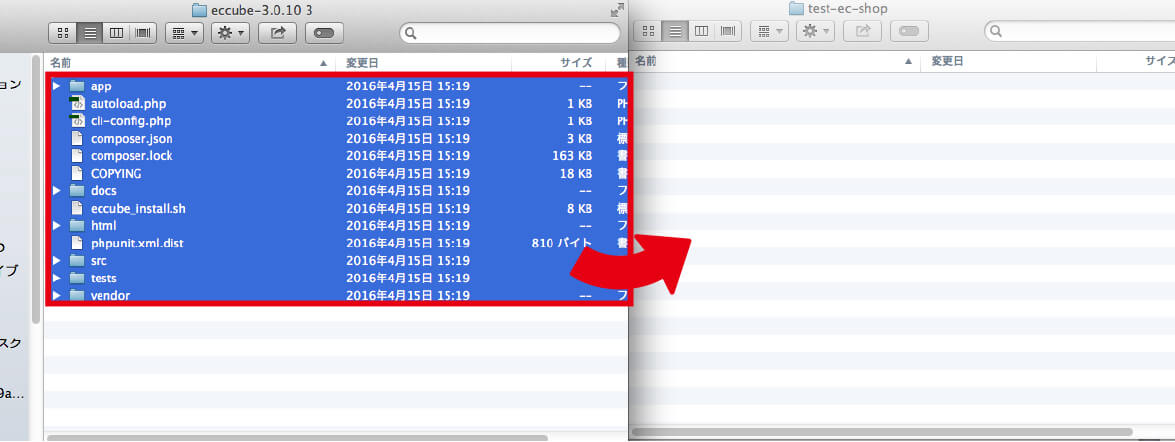
MAMPのアプリケーション/mamp/htdocsフォルダにtest-ec-shopの名前のフォルダを作りその中にEC CUBEの中身を全てコピペします。
2.インストールする
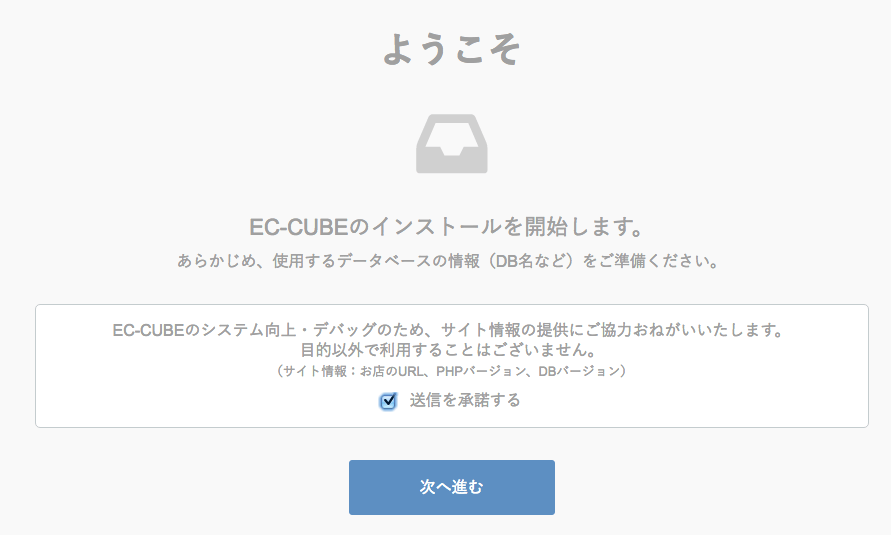
次にブラウザからhttp://localhost:8888/test-ec-shop/html/にアクセスするとインストール画面になります。
そのまま次へ進むをクリックして項目記入欄まで進みます。
進んで行くとショップ名やログインID等の項目を記入するページになります。
必要事項を入力します。
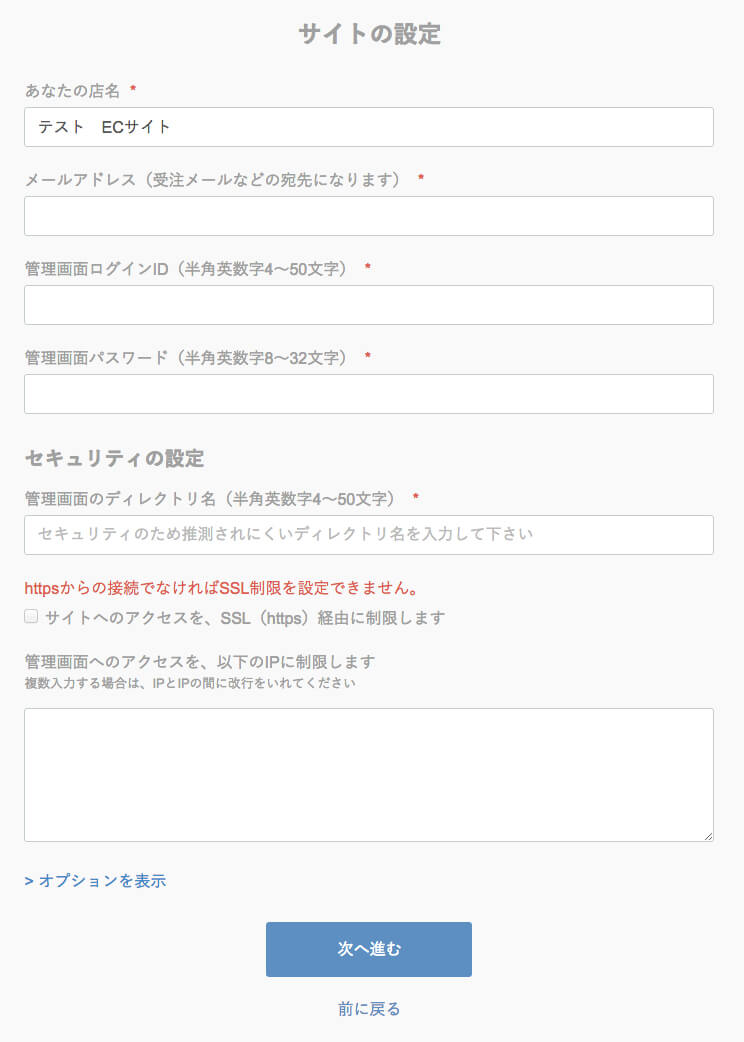
次にデータベース情報を記入します。
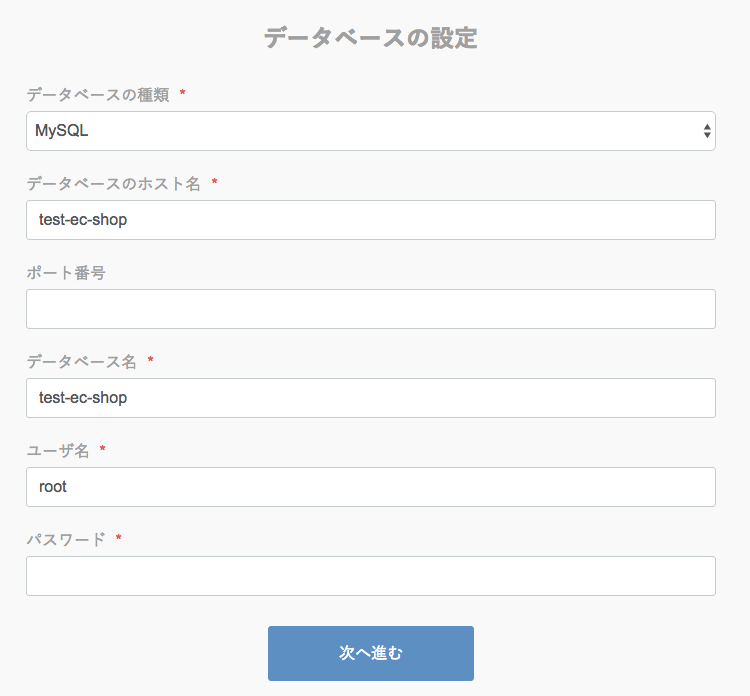
記入例は下記になります。
- データベース:MYSQL
- IPアドレス:localhost
- DB名: test-ec-shop
- DBユーザー名:root
- パスワード:root
※DBユーザー名とパスワードは設定を変更していない場合。
次に進むをクリックします。
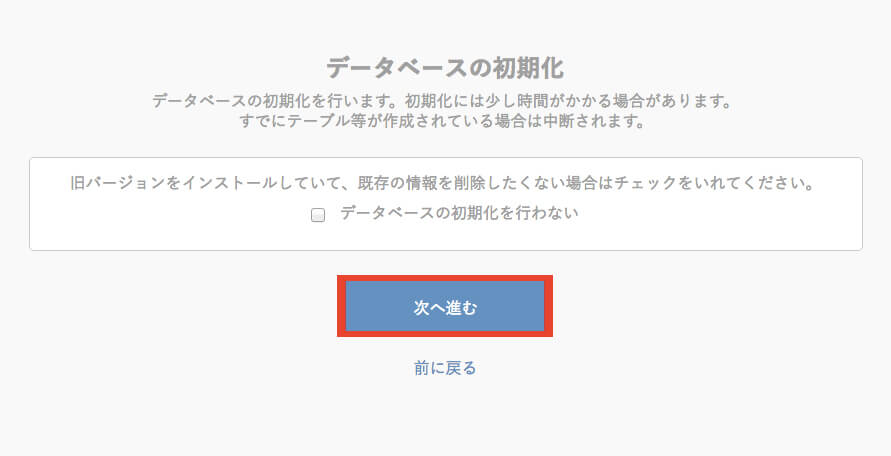
データベースの初期化についての項目が出ますが、初めてインストールする方はチェック入れても入れなくてもオッケーです。
以上でインストールは完了です。
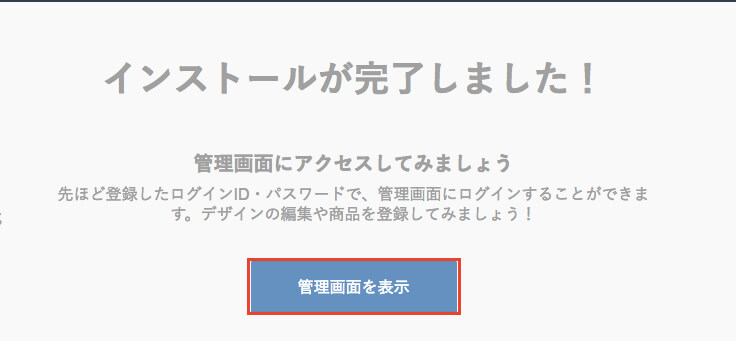
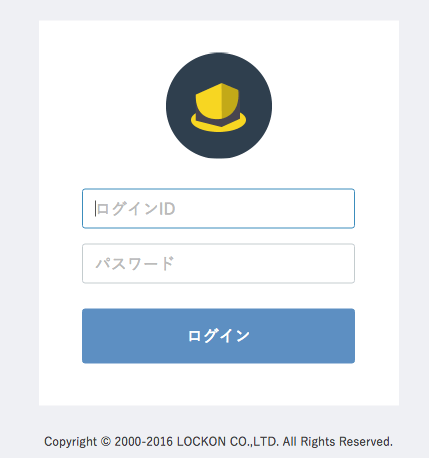
ログインIDとPASSを入れたら管理画面に入れます。